📑 Contents
Preparation: What You Need
Before you begin, ensure you have all equipment ready. Good preparation is key to a safe and comfortable injection.
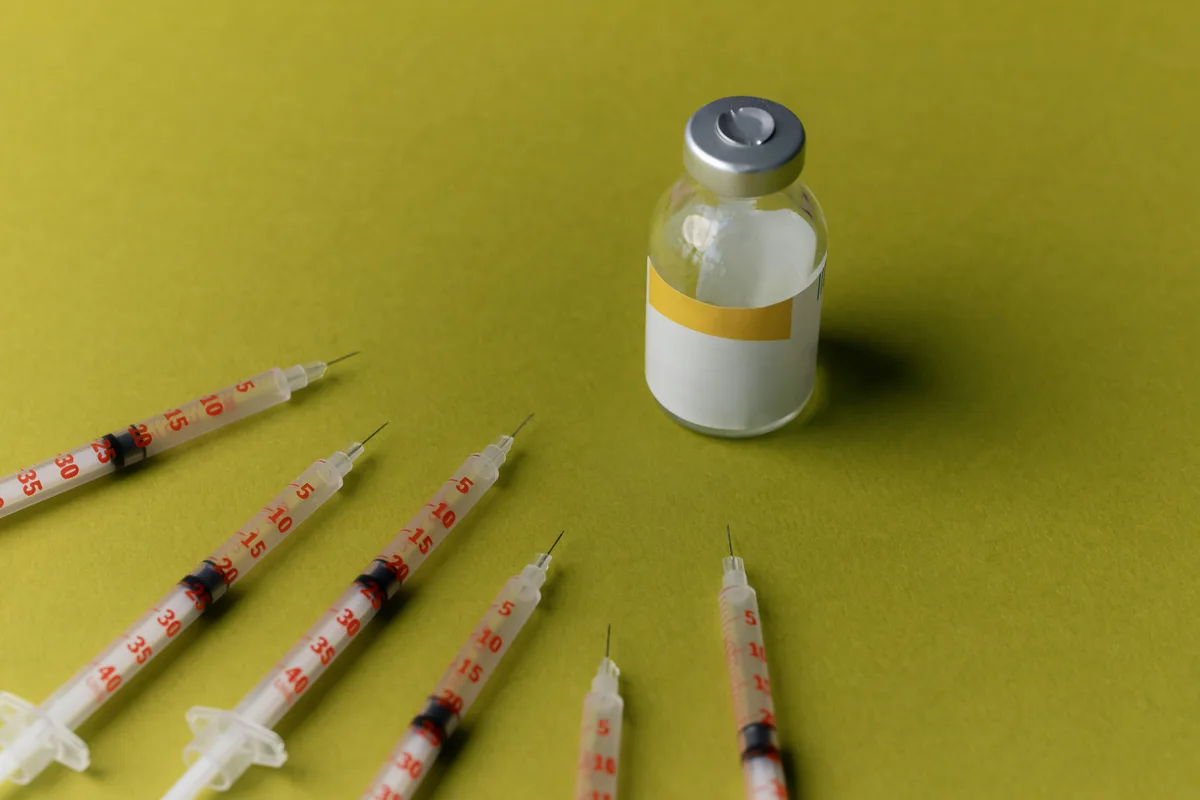
Necessary Equipment
- Insulin Syringes — 0.5ml or 1ml with 29-31G needle (29G = thinner = less discomfort)
- Alcohol Swabs — For sterilization
- Your Mixed Peptide Solution — Properly stored in the refrigerator
- Sharps Container — For safe waste disposal
- Clean Work Surface — Wipe down with alcohol
⚠️ NEVER Reuse Needles
Disposable syringes are just that — disposable. Reusing increases the risk of infection and makes the injection more painful as the needle becomes dull.
Step-by-Step: How to Inject
-
Wash Your Hands Thoroughly
At least 20 seconds with soap and water. Dry with a clean towel or paper towel. -
Prepare the Peptide Solution
Remove the vial from the refrigerator. Allow it to reach room temperature (5-10 min) for a more comfortable injection. Inspect the solution — it should be clear without particles. -
Disinfect the Vial's Rubber Membrane
Wipe the top with an alcohol swab and let it air dry (~10 seconds). -
Draw the Correct Dose
Insert the needle through the rubber membrane. Turn the vial upside down. Pull the plunger down to fill the syringe with the desired amount. Flick away any air bubbles. -
Select the Injection Site
The most common sites are the abdomen (2-3 cm from the navel) or the front of the thigh. Avoid bruises, scars, or skin irritations. -
Disinfect the Injection Site
Clean an area about 5x5 cm with an alcohol swab. Let it air dry completely (~10-15 seconds). -
Pinch the Skin
Using your thumb and forefinger, gently pinch a fold of skin. This ensures the injection goes subcutaneously (under the skin) and not into the muscle. -
Inject
Insert the needle at a 45° or 90° angle (depending on the skin fold and needle length). Push the plunger slowly and steadily. It should take 5-10 seconds. -
Wait and Withdraw
Hold the needle in place for 5 seconds after all the liquid is injected. Then withdraw the needle straight out. -
Apply Light Pressure
Apply light pressure with a clean cotton ball or tissue. Do NOT rub — this can spread the peptide and cause irritation.
✓ Well Done!
With practice, this quickly becomes a simple routine that takes less than 2 minutes from start to finish.
Best Injection Sites
1. Abdomen (Recommended)
The most common and often the most comfortable site.
- Select the area around the navel but keep a 2-3 cm distance
- Avoid the midline and the area directly under the ribs
- Best absorption and usually least painful
2. Front of the Thigh
A good alternative if the abdomen is irritated.
- Middle of the thigh, front side
- Avoid the inner and outer thigh
- Can be easier to see what you're doing
3. Back of the Upper Arm
Harder to reach on your own but works well.
- The "soft" part on the back
- May require assistance from someone else
- Good for rotation if injecting frequently
Rotation Schedule
Rotating the injection site is important to avoid:
- Lipohypertrophy (fat accumulation under the skin)
- Lipoatrophy (fat loss under the skin)
- Scarring
- Impaired absorption
📌 Example Rotation Schedule (Weekly)
Week 1: Left side of the abdomen
Week 2: Right side of the abdomen
Week 3: Left thigh
Week 4: Right thigh
Repeat the cycle
Maintain at least 2-3 cm distance from the previous injection site, even within the same area.
Common Mistakes to Avoid
❌ Injecting Too Quickly
Pushing the solution in too quickly causes more pain and may result in poorer absorption. Take 5-10 seconds.
❌ Forgetting to Let the Alcohol Dry
Injecting through wet alcohol stings and can irritate the tissue.
❌ Injecting into the Muscle Instead of Under the Skin
Always pinch the skin if unsure. A too-deep injection results in faster absorption but may be less effective for some peptides.
❌ Using the Same Site Every Time
This leads to tissue changes. Always rotate!
❌ Using Too Large a Needle
Insulin needles (29-31G) are ideal. Larger needles (23-25G) are unnecessarily painful for subcutaneous injection.
After the Injection
Immediately After
- Dispose of the needle in a sharps container
- Return the peptide vial to the refrigerator
- Record the date, time, and location in a log (optional but helpful)
Normal Reactions
- Slight redness at the injection site (disappears within hours)
- A small drop of blood (normal, apply light pressure)
- Mild itching or slight pain (should subside quickly)
⚠️ Contact Healthcare if You Experience:
- Severe swelling or redness that spreads
- Fever after injection
- Pus or fluid from the injection site
- Pain that worsens instead of improving
Frequently Asked Questions
How much does it hurt?
With proper technique and thin needles (29-31G), most people feel only a slight prick. Many describe it as less uncomfortable than a mosquito bite.
Can I inject in the evening?
Yes, many prefer evening injections as any potential nausea is less noticeable while sleeping. Choose a time that suits you and stick to it.
What if I see an air bubble?
Small air bubbles in a subcutaneous injection are harmless, but try to flick them away. Large bubbles can result in an incorrect dose.
How long does a mixed peptide last?
Generally 28-30 days in the refrigerator. See our storage guide for details.
Do I have to inject at the same time every week?
The same day is important, but the exact time matters less. Try to stay within 1-2 hours of your usual time.
📌 Related Guides
📖 How to Mix Semaglutide →
📖 Peptide Storage Guide →
📖 BAC Water: Everything You Need to Know →
⚠️ Research Disclaimer
This guide is for educational purposes only. The peptides we sell are intended for research purposes. Always consult a physician before starting any treatment.